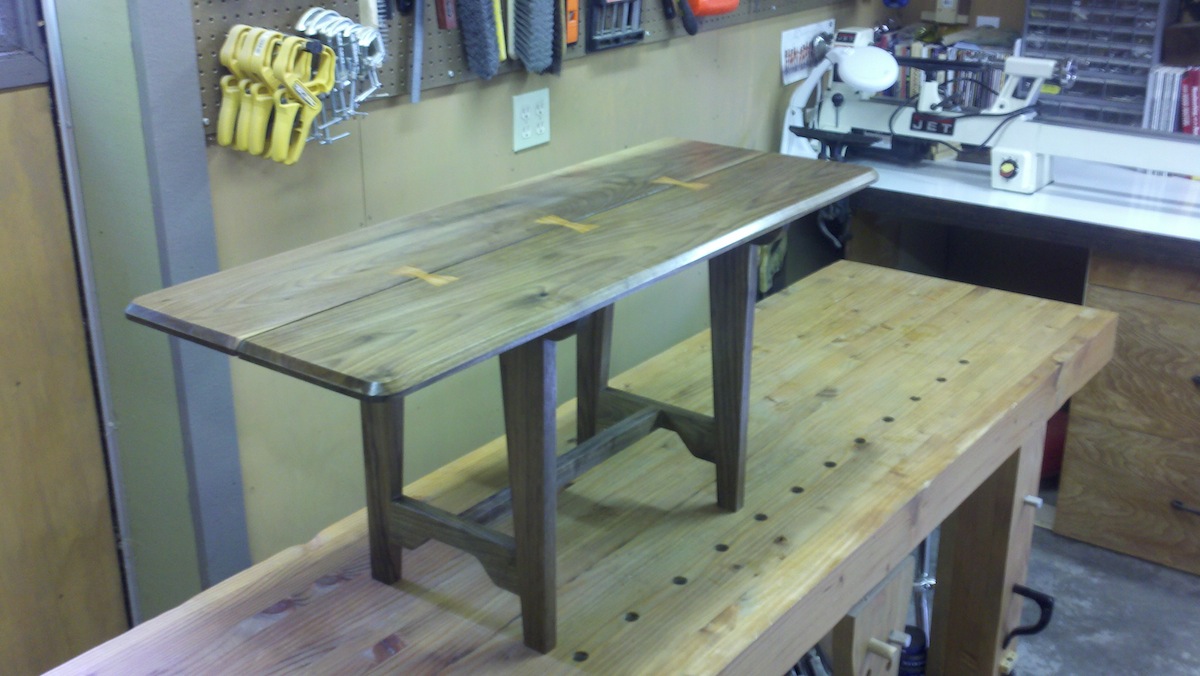
For some time I thought the studio needed a proper altar table. After all, this is Shiva we're talking about, destroyer of the world and maybe one day your ego, and Shiva's current table was a far cry from godly. So like any sensible yogi, I went to the Ikea catalog and looked at tables, but it just seemed weird to buy an altar. Thinking about it more, I decided to build one myself, an altar that symbolized the practice of yoga in a deep and personal way. That's a tall order and I was thinking about this design off and on for about a year. I came upon the work of George Nakashima. George was among other things a graduate from the University of Washington, an architect, an early disciple of Sri Aurobindo, and a master of Japanese style woodworking. Interestingly, it was George's dream to create seven "altars of peace" with one residing in each continent. The first of these tables were made from massive pairs of matched walnut for the table top. These tables bore George's signature style -- a split down the middle of the top that was joined by inlaid butterfly dovetails.
 I found this design symbolic of our yoga practice. The split in the table represents the division between our individual ego and our true Self. The inlaid butterflies represent how our yoga dissolves this division over time. This division is ultimately an illusion, or maya. Maya has three qualities, or gunas, so I decided on three inlaid butterfly dovetails for the design.
Building furniture by hand requires mindfulness and patience. The first step is taking rough cut lumber and milling it to be flat and the right thickness. I use a combination of machines and my embarrassingly large hand plane collection to do this.
 Table legs and rails are joined together to form stretchers. There are many options for this type of joinery. I used the classic mortise and tenon. Using a marking gauge to cut very fine lines in the wood, I then use a chisel to cut a small groove along these lines. These grooves let me be very accurate when cutting with a handsaw. I cut wooden tenons with the saw and chisel out the mortises so the tenons fit inside them.
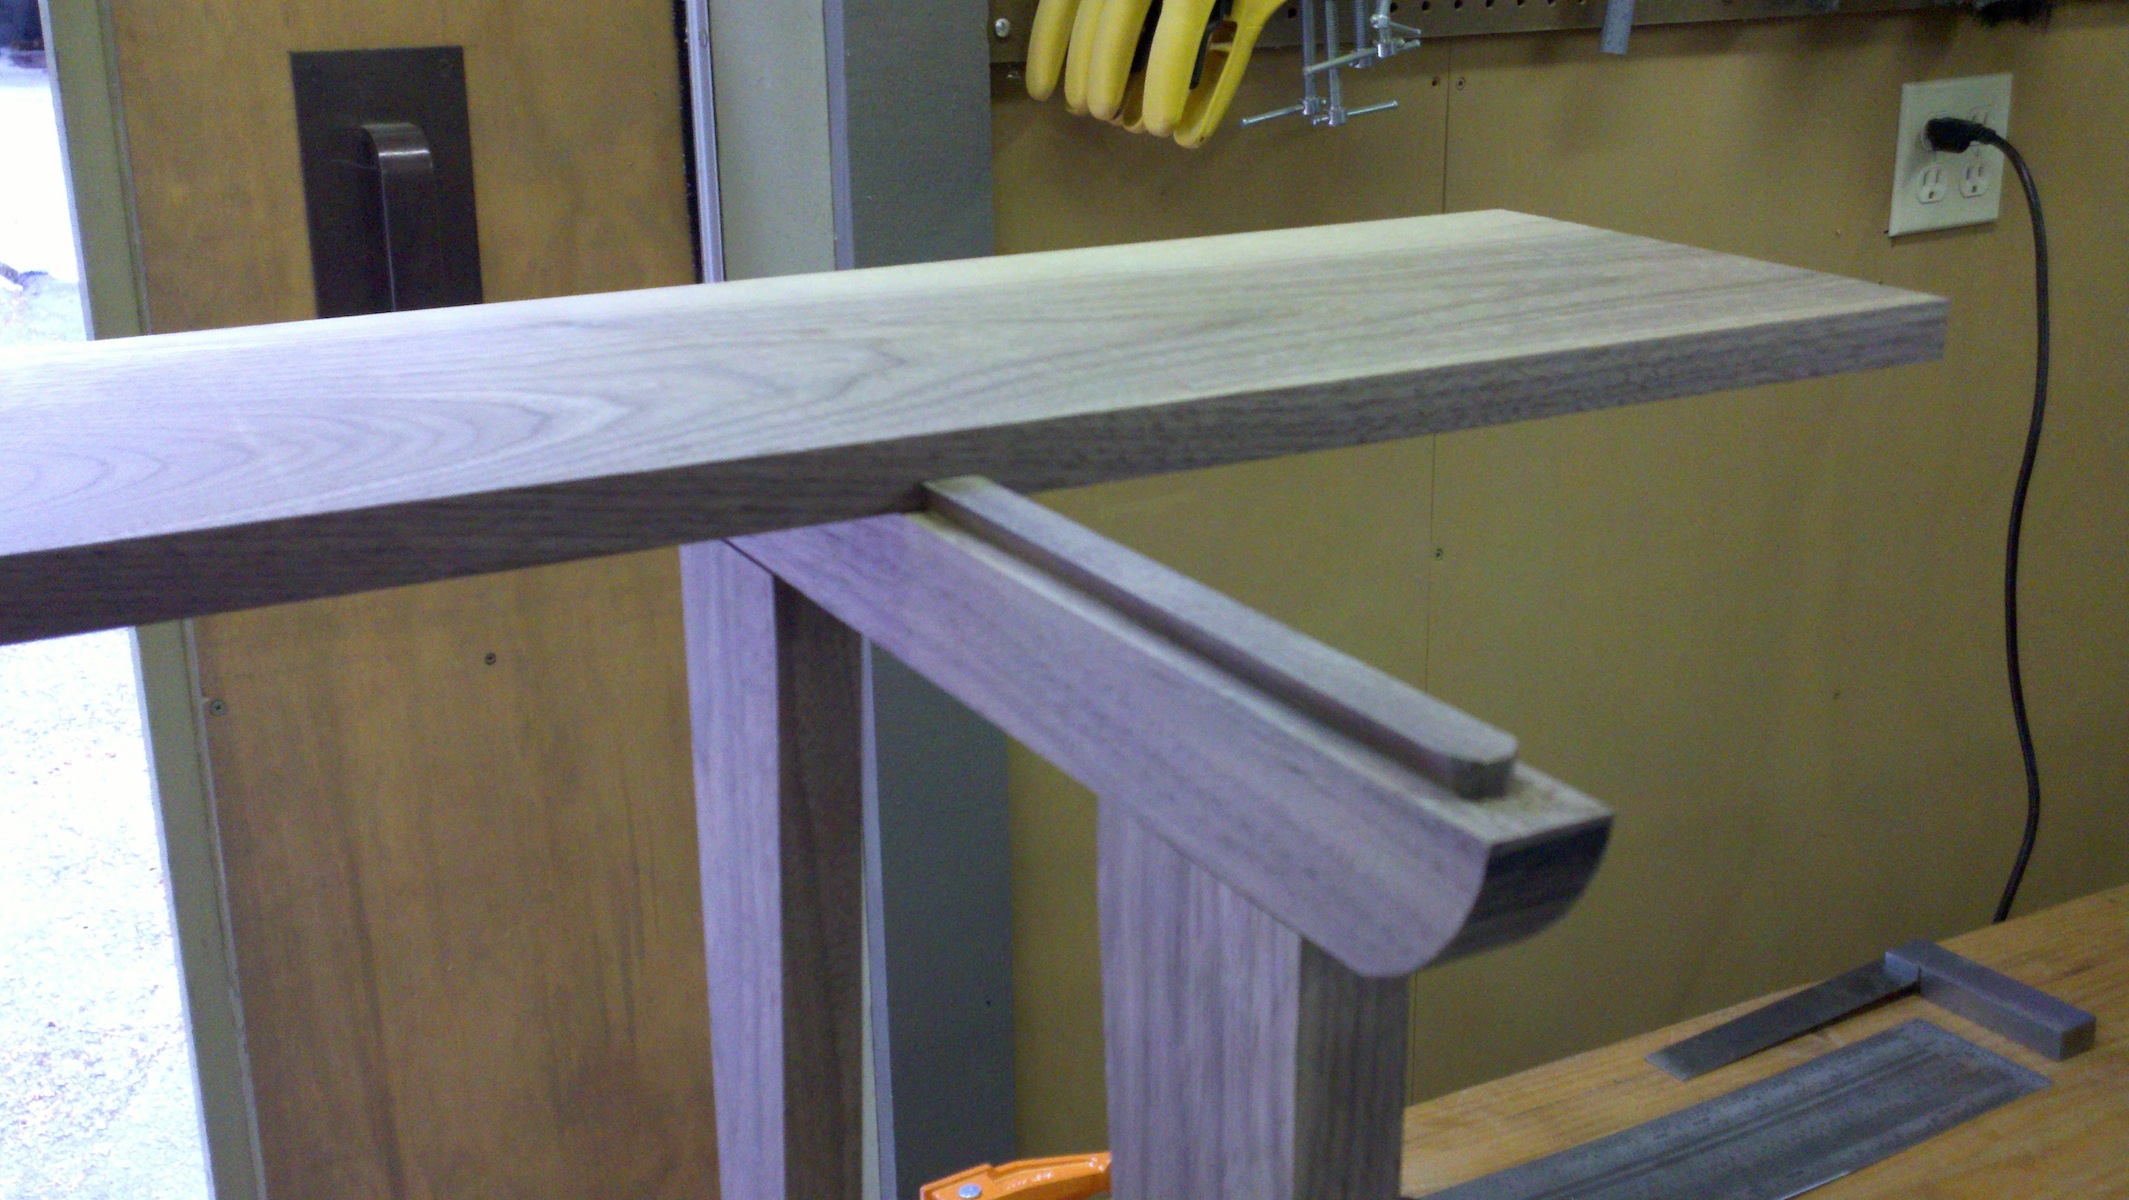
 To connect the stretchers to the table top, I cut a sliding dovetail on the stretcher top. The tabletop floats on this joint allowing for seasonal expansion of the wood so the table will not rack or warp. Fitting this joint requires patience. You can always take more material off but it's not easy to put the wood back on!
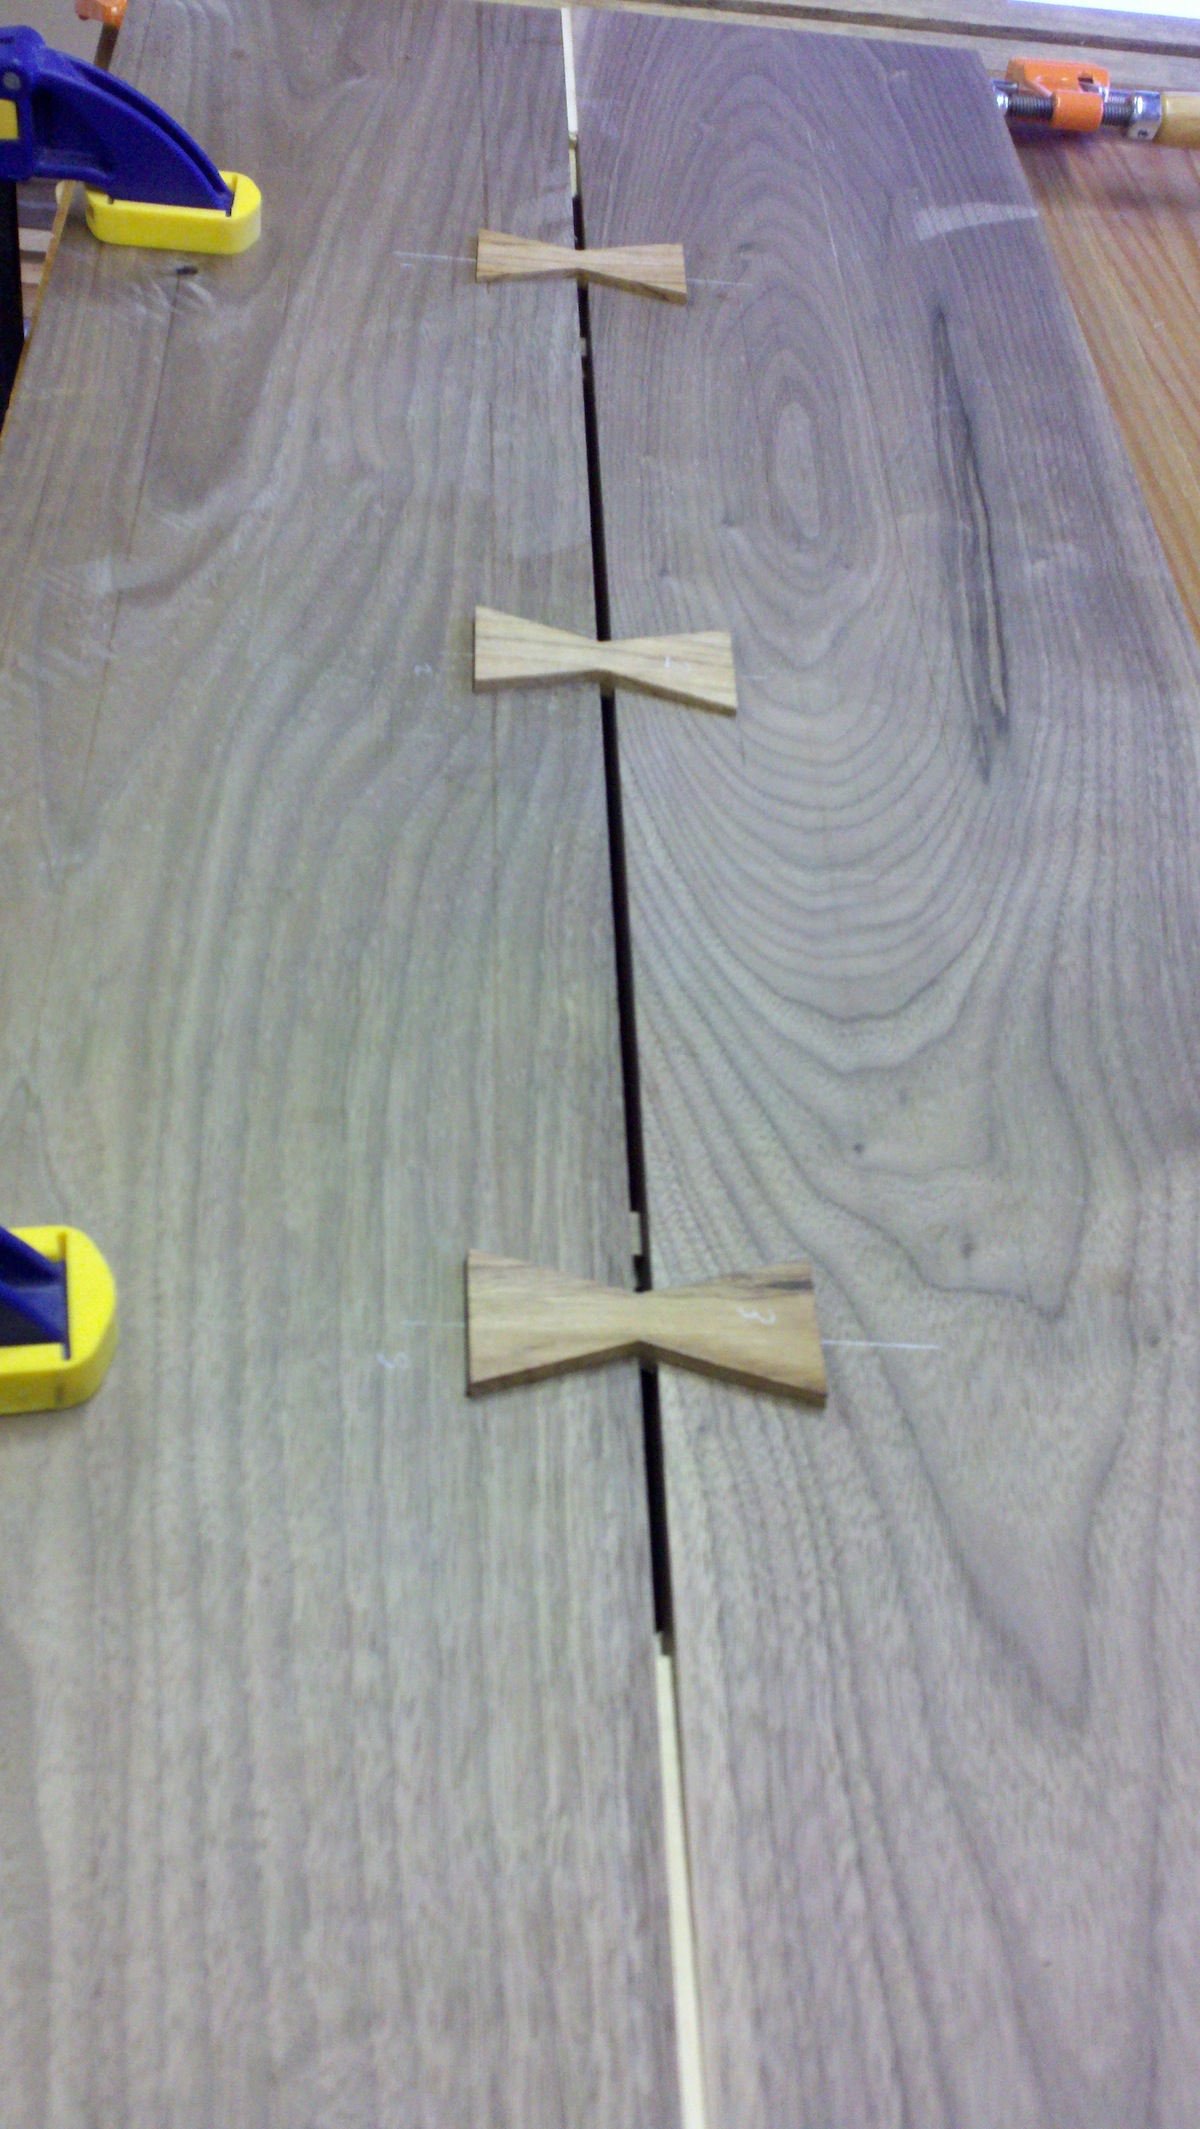
Next I used the band-saw to cut three matched butterfly dovetails from a piece of rosewood. I carefully marked and chiseled out spaces for them in the table top. After multiple test fits and careful paring, I used a rubber mallet to seat them. A tight fit is important for such a visible joint, so I made sure to keep the blood pressure low as I worked.
 Once all the pieces fit together, it's time for the one step that requires a certain amount of speed -- the glue up. If you're too slow, the glue drys early with your parts misaligned. Fortunately, the glue up goes off without incident. Then it's time to scrape, plane, and sand the wood to perfect smoothness. Any imperfection will be highlighted under the gloss of the finish. Everything looks good and four coats of poly/oil finish later, I burnished the finish with fine steel wool and the table is done. Hopefully Shiva will find it suitable.
